SELECT * FROM BILLING_TEST;IBM Db2
Create Db2 Instance
- Get a unique Feature Code to activate an IBM Cloud trial account - This doesn’t apply to others, so follow the steps below to create a free Db2 Lite account:
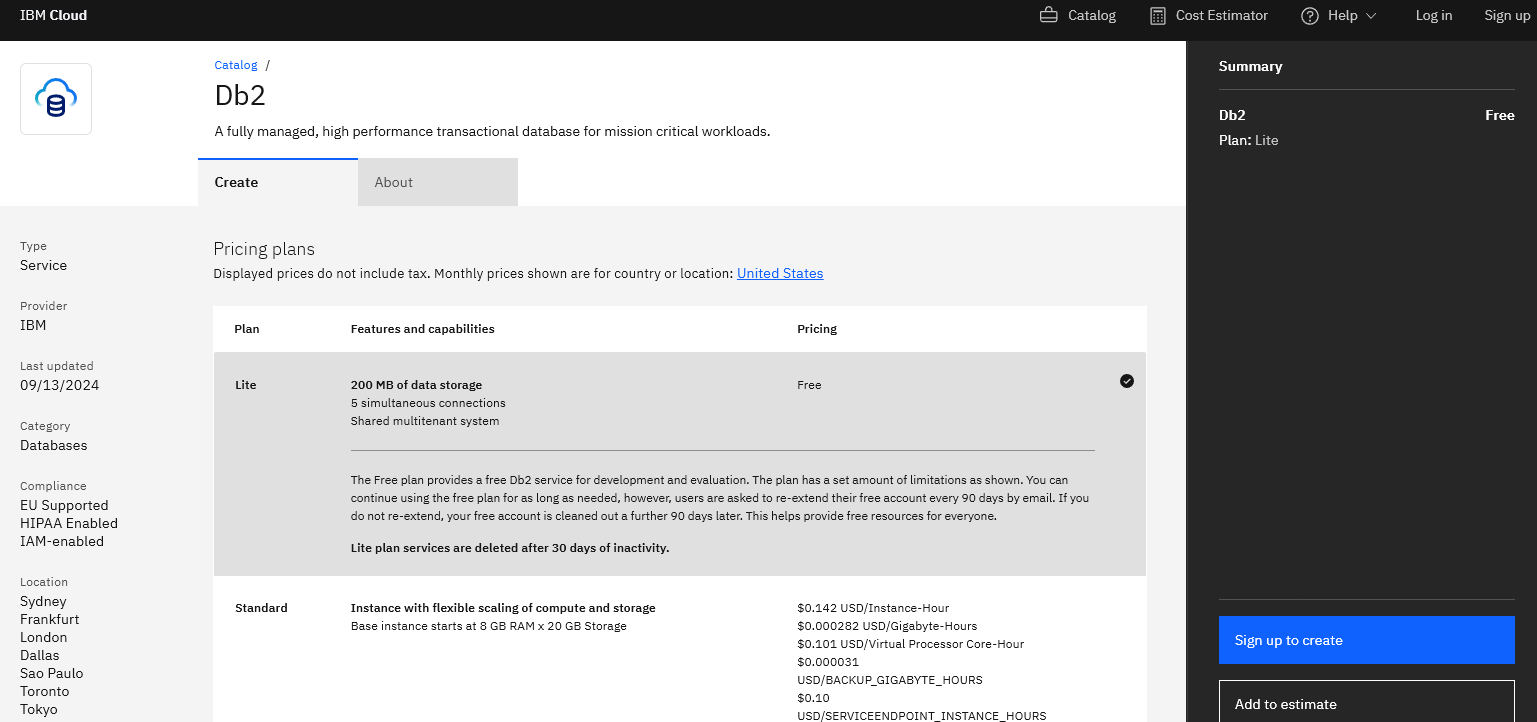
- Start by going to IBM Cloud Catalog
- Choose Databases from left hand directory
- On the directory page, scroll down to Db2
- You’ll be taken to Db2 pricing page
- Create Service Credentials, which establishes the connection to the db
- For a free account choose the Lite version
- When all is said and done and account is setup you can go to cloud.ibm.com/resources
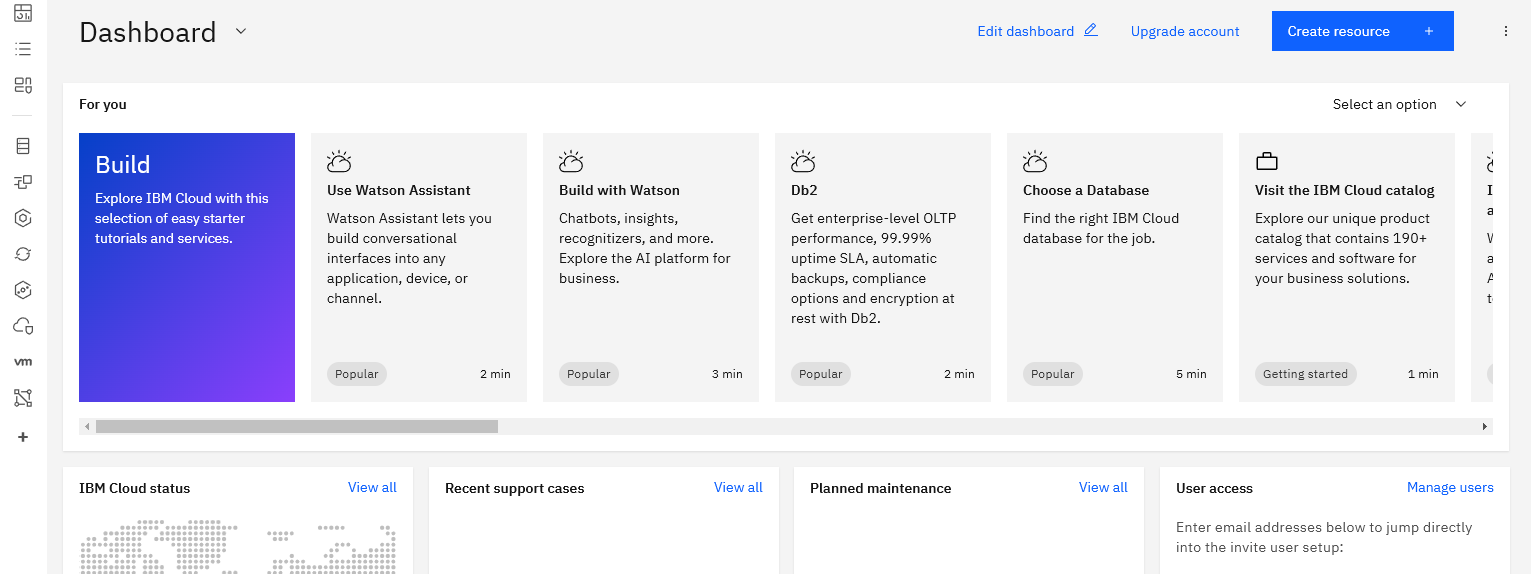
- When all is said and done after I signed up this is the page:
Browse
- Now that you’ve created a Lite account
- From the left side choose> Resource List
- You’ll see the resource that you just created

- From the options for Bd2-19 choose: Go to UI
Run SQL
- From the left menu click on SQL
- A new script page opens up
- Type in this SQL
Create Tables from Script
In this first example we’ll create tables using a script and then import data to populate the tables
Import SQL
- Let’s say we have a script on our local drive and want to run it in this instance
- Click on the + to ADD new query
- Choose FROM FILE
- Upload the script file
- Run all
------------------------------------------
--DDL statement for table 'HR' database--
--------------------------------------------

-- Drop the tables in case they exist

DROP TABLE EMPLOYEES;
DROP TABLE JOB_HISTORY;
DROP TABLE JOBS;
DROP TABLE DEPARTMENTS;
DROP TABLE LOCATIONS;

-- Create the tables

CREATE TABLE EMPLOYEES (
                          EMP_ID CHAR(9) NOT NULL,
                          F_NAME VARCHAR(15) NOT NULL,
                          L_NAME VARCHAR(15) NOT NULL,
                          SSN CHAR(9),
                          B_DATE DATE,
                          SEX CHAR,
                          ADDRESS VARCHAR(30),
                          JOB_ID CHAR(9),
                          SALARY DECIMAL(10,2),
                          MANAGER_ID CHAR(9),
                          DEP_ID CHAR(9) NOT NULL,
                          PRIMARY KEY (EMP_ID)
                        );

CREATE TABLE JOB_HISTORY (
                            EMPL_ID CHAR(9) NOT NULL,
                            START_DATE DATE,
                            JOBS_ID CHAR(9) NOT NULL,
                            DEPT_ID CHAR(9),
                            PRIMARY KEY (EMPL_ID,JOBS_ID)
                          );

CREATE TABLE JOBS (
                    JOB_IDENT CHAR(9) NOT NULL,
                    JOB_TITLE VARCHAR(30) ,
                    MIN_SALARY DECIMAL(10,2),
                    MAX_SALARY DECIMAL(10,2),
                    PRIMARY KEY (JOB_IDENT)
                  );

CREATE TABLE DEPARTMENTS (
                            DEPT_ID_DEP CHAR(9) NOT NULL,
                            DEP_NAME VARCHAR(15) ,
                            MANAGER_ID CHAR(9),
                            LOC_ID CHAR(9),
                            PRIMARY KEY (DEPT_ID_DEP)
                          );

CREATE TABLE LOCATIONS (
                          LOCT_ID CHAR(9) NOT NULL,
                          DEP_ID_LOC CHAR(9) NOT NULL,
                          PRIMARY KEY (LOCT_ID,DEP_ID_LOC)
);- Look at the history pane and you’ll see
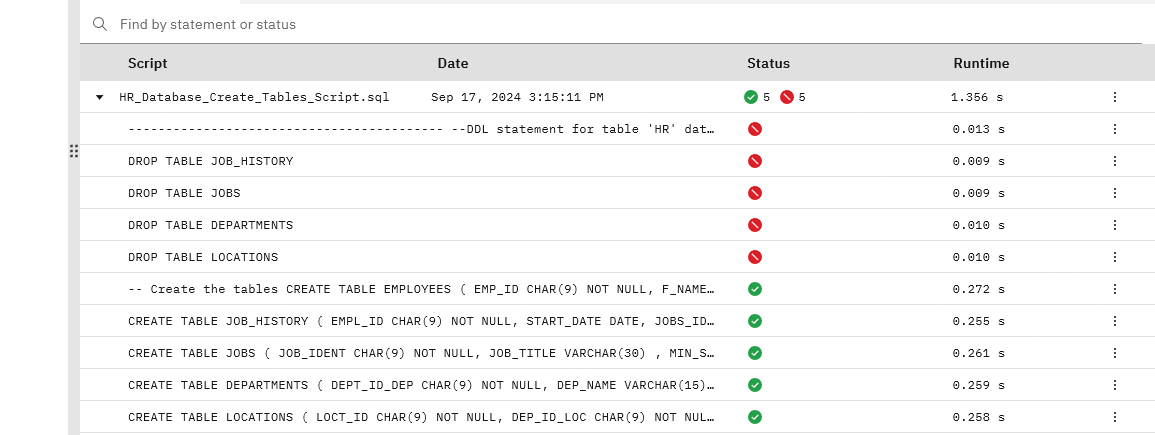
- The successful creation of the table and some errors
- The errors are related to DROP TABLES which is fine since we just created this from scratch and there weren’t any tables to drop
Data
- From the left menu Click > Data
- Choose Tables Tab
- You’ll see a list of schemas
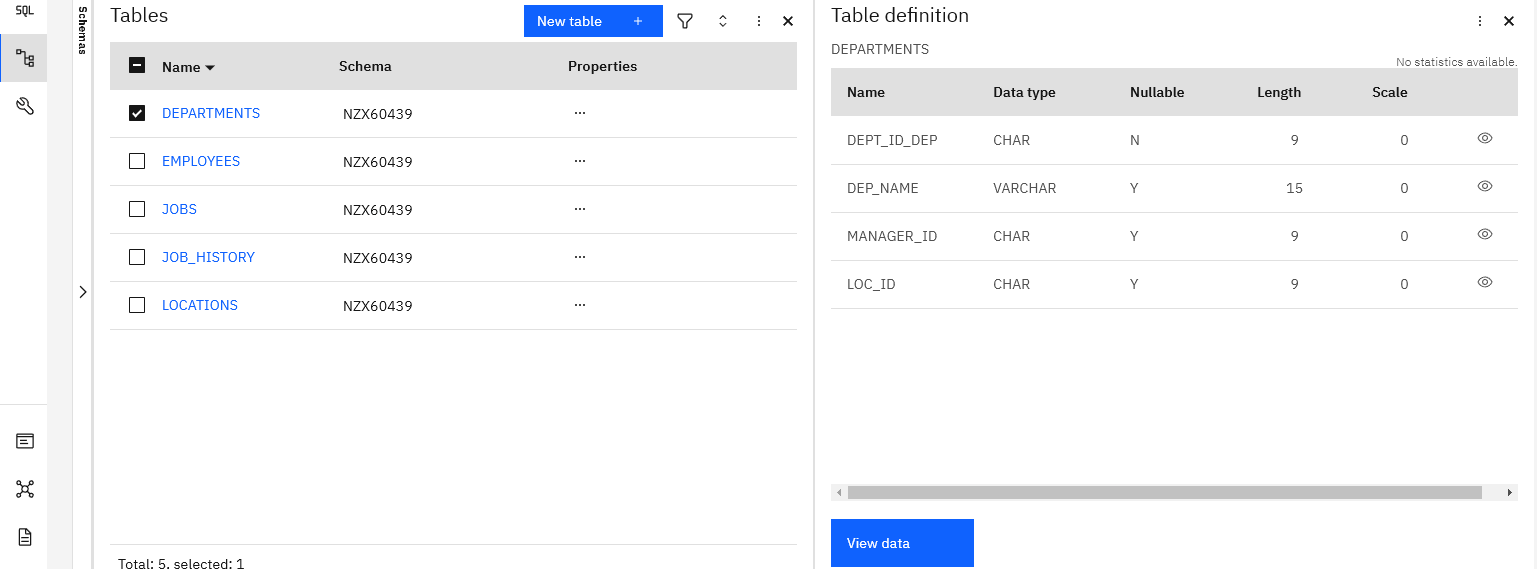
- Choose NZX60439
- The right pane will display all the tables you just created
Table Definition
- Double click any of the tables from above list
- Right pane will display that tables Definition
- On the bottom VIEW DATA
- You’ll see there is NO DATA because all the SQL script was designed to do is create the tables
Load Data into Tables
- Let’s say we have 5 different csv files of data one for each table
- Files are stored somewhere (let’s say on our local drive)
- While still in the Data Tab
- Choose from the upper Tabs: LOAD DATA
- My Computer (from next screen), drag and drop files
- You’ll see the file(s) listed on the right side
Match files to Tables
- Obviously just because the file is named employees, the UI doesn’t know which table it is meant to match it to
- So select employees_updated.csv and it will upload it
- Right pane will show the selected file > NEXT
- Choose Schema NZX60439 the one we created above
- Choose Table > EMPLOYEES
- Overwrite Table with new data
- NEXT
- HEADER in first row: since the data does NOT contain header names TURN OFF Header in First Row button
- NEXT
- Begin Load
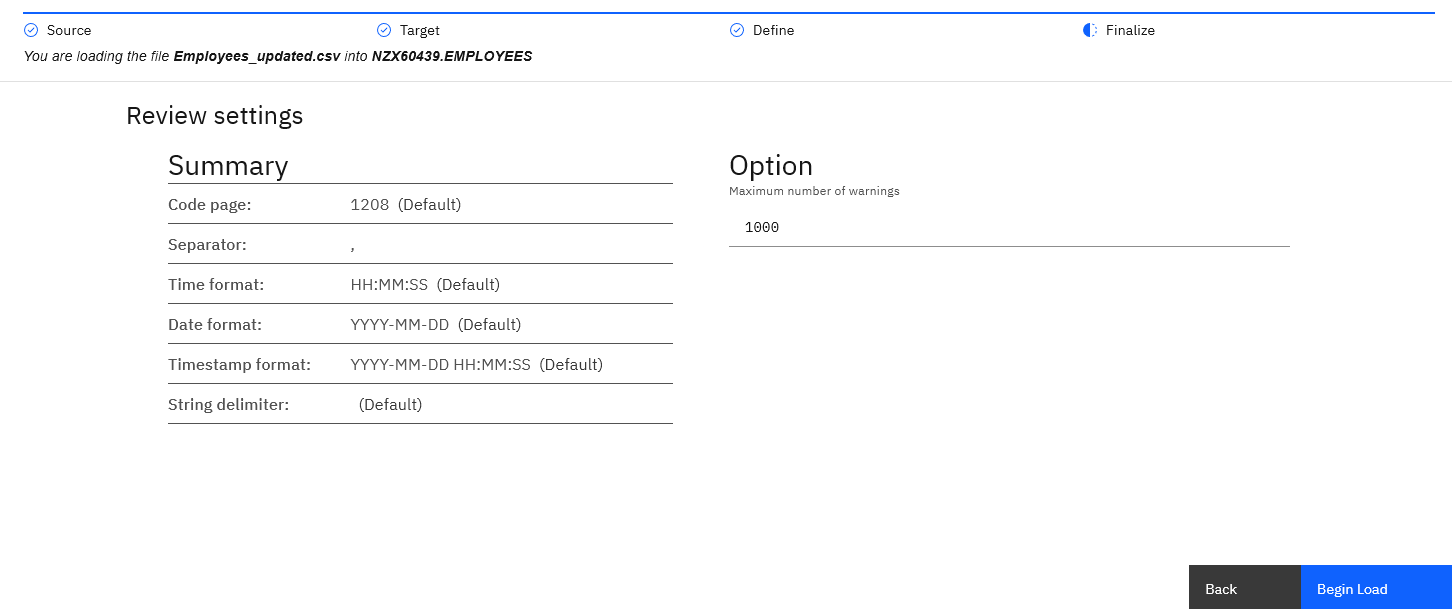
- It will display the progress, when finished you’ll have this response
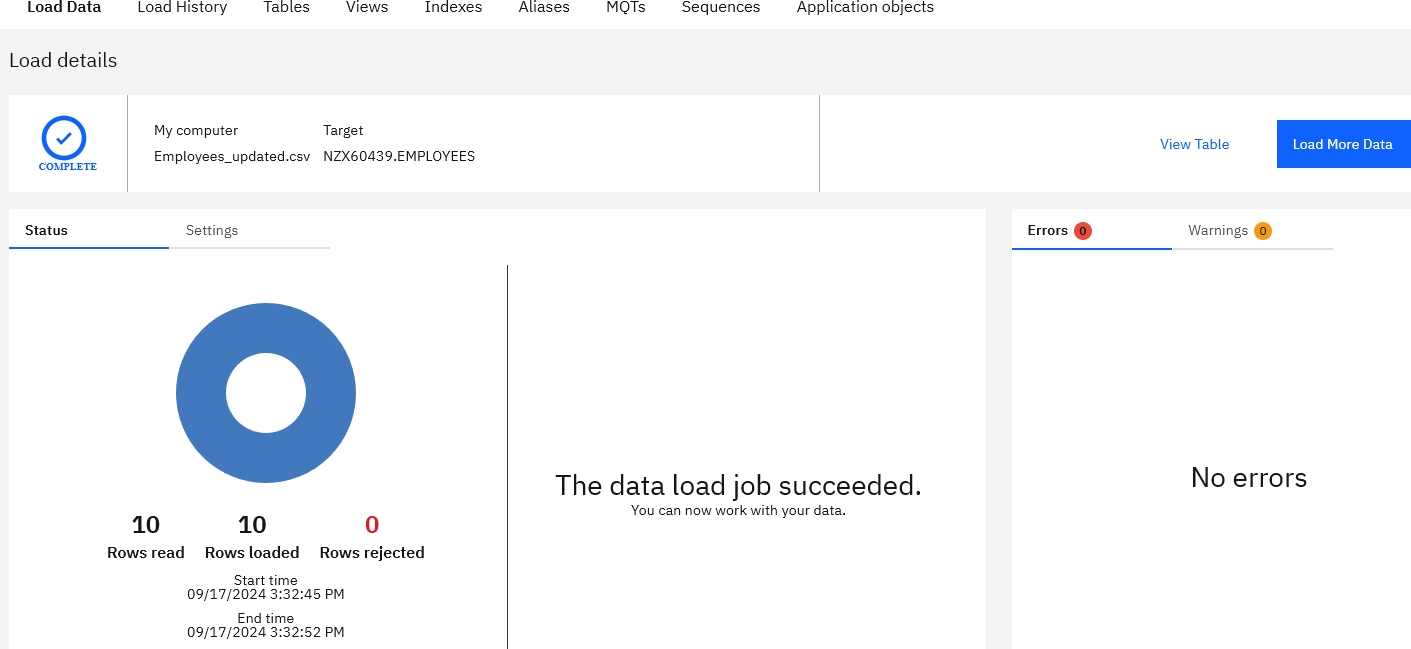
- Now you can view the data for EMPLOYEES table> Click on TABLES tab
- Load the other files for each table in the same way
Export Data to CSV
- To export a table to a CSV file:
- DATA option from left menu
- TABLE option from top menu
- Choose the table
- View Data
- Right side of table EXPORT TO CSV
Connect to Db2 w Python
So as you see above we’ve already created a Db2 instance and we’ve retrieved our credentials in Data/Connect Script page.
Note: cannot use Jupyter Notebook from outside Db2 cloud with the instructions detailed below. To access IBM Db2 from outside need to load different packages from the ones specified below. ibm_db is only useful for in the cloud Jupyter Notebooks.
Import ibm_db Library
The ibm_db API provides a variety of useful Python functions for accessing and manipulating data in an IBM® data server database, including functions for connecting to a database, preparing and issuing SQL statements, fetching rows from result sets, calling stored procedures, committing and rolling back transactions, handling errors, and retrieving metadata.
library(reticulate)
py_install("ibm_db")
import os
os.add_dll_directory(r'c:\users\emhrc\onedrive\docume~1\virtua~1\r-reti~1\lib\site-packages')
import ibm_dbDefine Credentials
dsn_hostname = "6667d8e9-9d4d-4ccb-ba32-21da3bb5aafc.c1ogj3sd0tgtu0lqde00.databases.appdomain.cloud"
dsn_uid = "nzx60439"
dsn_pwd = "XqJtPBH1PGw3rnjF"

dsn_driver = "{IBM DB2 ODBC DRIVER}"
dsn_database = "bludb"
dsn_port = "30376"
dsn_protocol = "TCPIP"
dsn_security = "SSL"
Create Connection
Ibm_db API uses the IBM Data Server Driver for ODBC and CLI APIs to connect to IBM DB2 and Informix.
- Lets build the dsn connection string using the credentials entered above
#Create the dsn connection string
dsn = (
    "DRIVER={0};"
    "DATABASE={1};"
    "HOSTNAME={2};"
    "PORT={3};"
    "PROTOCOL={4};"
    "UID={5};"
    "PWD={6};"
    "SECURITY={7};").format(dsn_driver, dsn_database, dsn_hostname, dsn_port, dsn_protocol, dsn_uid, dsn_pwd,dsn_security)

#print the connection string to check correct values are specified
print(dsn)
Establish Connection
try:
    conn = ibm_db.connect(dsn, "", "")
    print ("Connected to database: ", dsn_database, "as user: ", dsn_uid, "on host: ", dsn_hostname)

except:
    print ("Unable to connect: ", ibm_db.conn_errormsg() )
Metadata for Server
#Retrieve Metadata for the Database Server
server = ibm_db.server_info(conn)

print ("DBMS_NAME: ", server.DBMS_NAME)
print ("DBMS_VER:  ", server.DBMS_VER)
print ("DB_NAME:   ", server.DB_NAME)

# OUTPUT
DBMS_NAME:  DB2/LINUXX8664
DBMS_VER:   11.05.0900
DB_NAME:    BLUDB
Metadata for DB
#Retrieve Metadata for the Database Client / Driver
client = ibm_db.client_info(conn)
print ("DRIVER_NAME: ", client.DRIVER_NAME)
print ("DRIVER_VER: ", client.DRIVER_VER)
print ("DATA_SOURCE_NAME: ", client.DATA_SOURCE_NAME)
print ("DRIVER_ODBC_VER: ", client.DRIVER_ODBC_VER)
print ("ODBC_VER: ", client.ODBC_VER)
print ("ODBC_SQL_CONFORMANCE: ", client.ODBC_SQL_CONFORMANCE)
print ("APPL_CODEPAGE: ", client.APPL_CODEPAGE)
print ("CONN_CODEPAGE: ", client.CONN_CODEPAGE)
# OUTPUT
DRIVER_NAME: libdb2.a
DRIVER_VER: 11.05.0800
DATA_SOURCE_NAME: BLUDB
DRIVER_ODBC_VER: 03.51
ODBC_VER: 03.01.0000
ODBC_SQL_CONFORMANCE: EXTENDED
APPL_CODEPAGE: 1208
CONN_CODEPAGE: 1208Close Connection
ibm_db.close(conn)

# OUTPUT
TRUE
List Tables
# To list tables in Db2 we can use
#| eval: false
#SYSCAT.TABLES